
Butterfly Valves & Sea Chest Filters
How a quarter-turn disc seals, how to rebuild one without pinching the seat, and the changeover that keeps cooling alive.
Key Principles at a Glance 5 points
- A butterfly seals by rotating a disc a quarter-turn against a resilient liner — fast, compact, and entirely dependent on seat condition.
- Inspect four things: body flaws, external leaks, seat deformation, and handle smoothness — stiffness or weeps mean open it.
- Rebuild renews all rubber (seat plus O-rings) with silicone-greased assembly; worn or pitted discs and stems are replaced, not dressed.
- Twin sea chests exist so cooling never stops: commission the standby chest fully before isolating the duty one.
- Chest covers go back with new joints and diagonal progressive torque; the cleaned chest returns as standby, vented and air-free.
1. Quarter-Turn Sealing
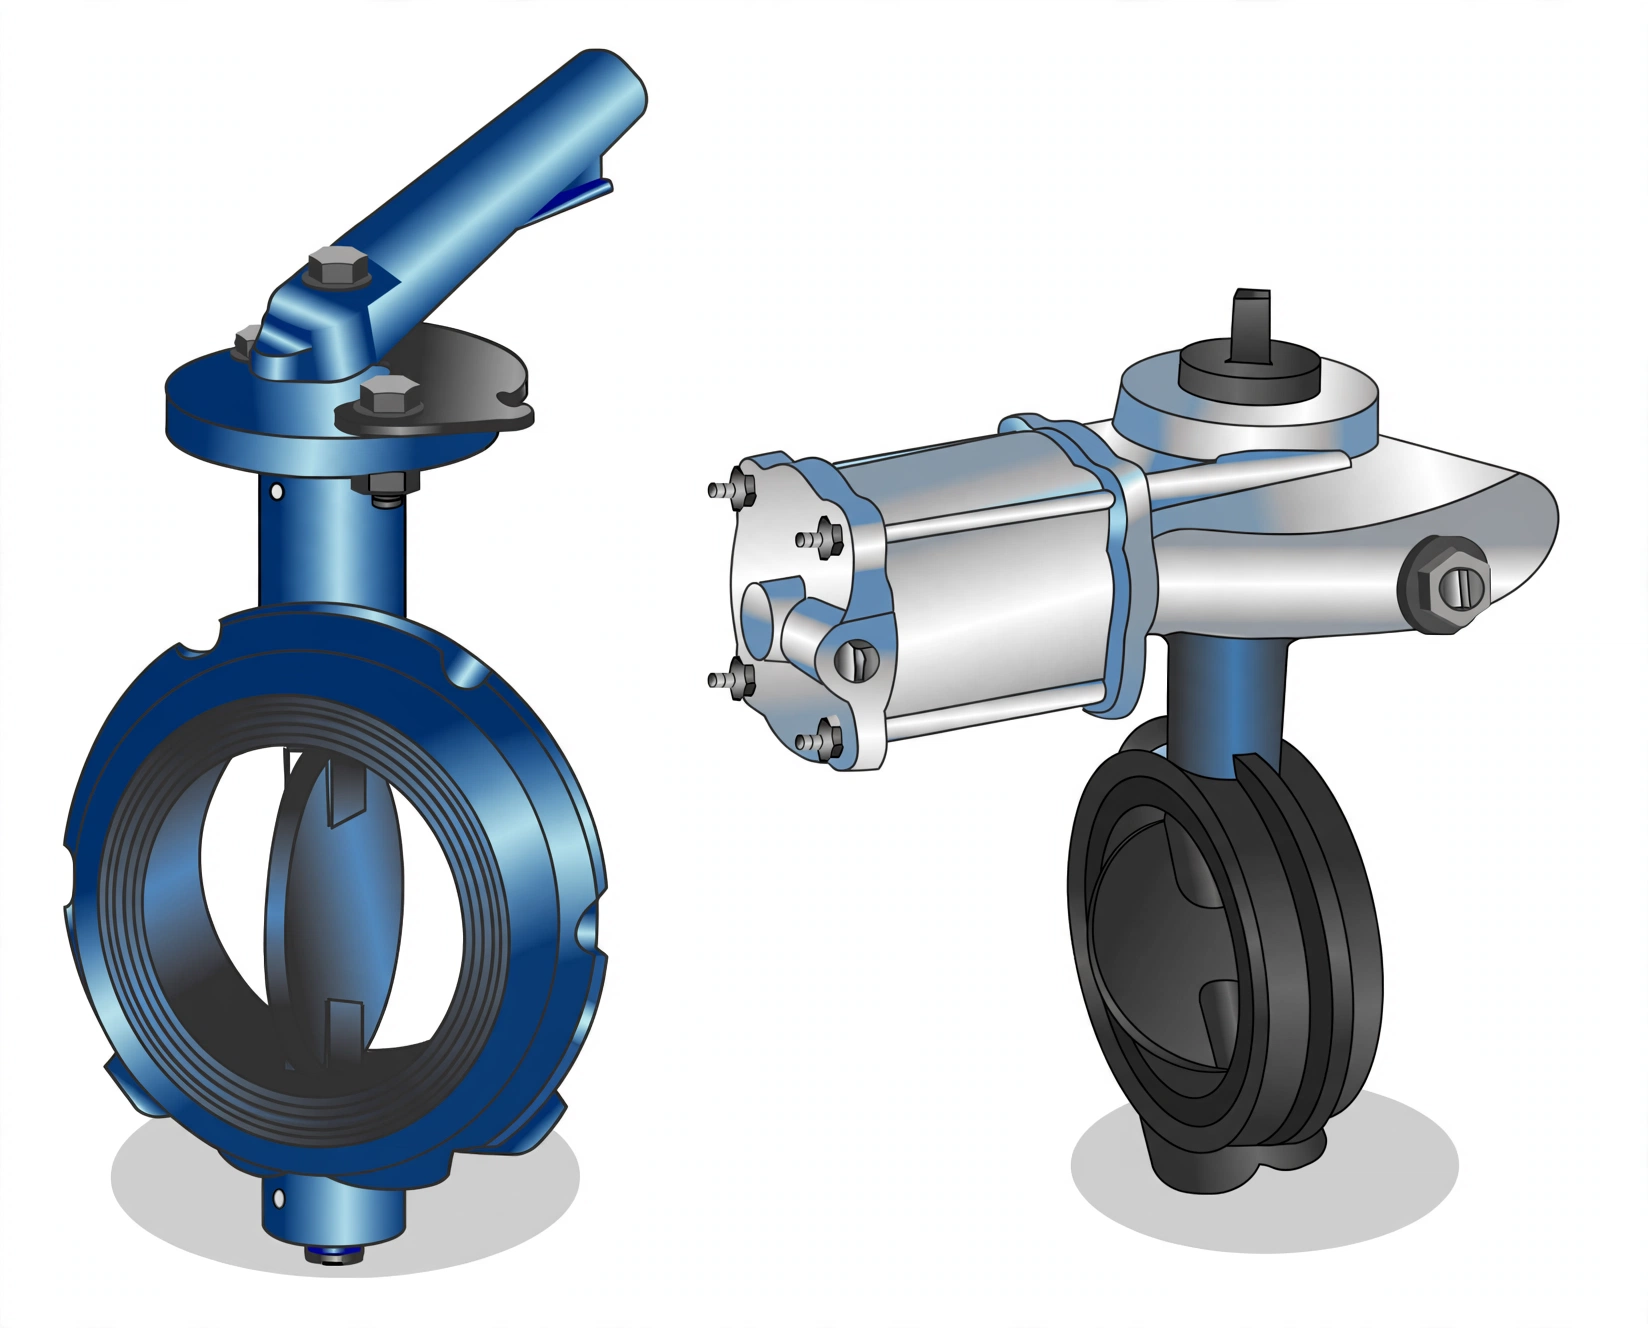
Idea in one line: a disc turns edge-on for flow and face-on for seal — the resilient liner does all the sealing, so the seat's condition is the valve's condition.
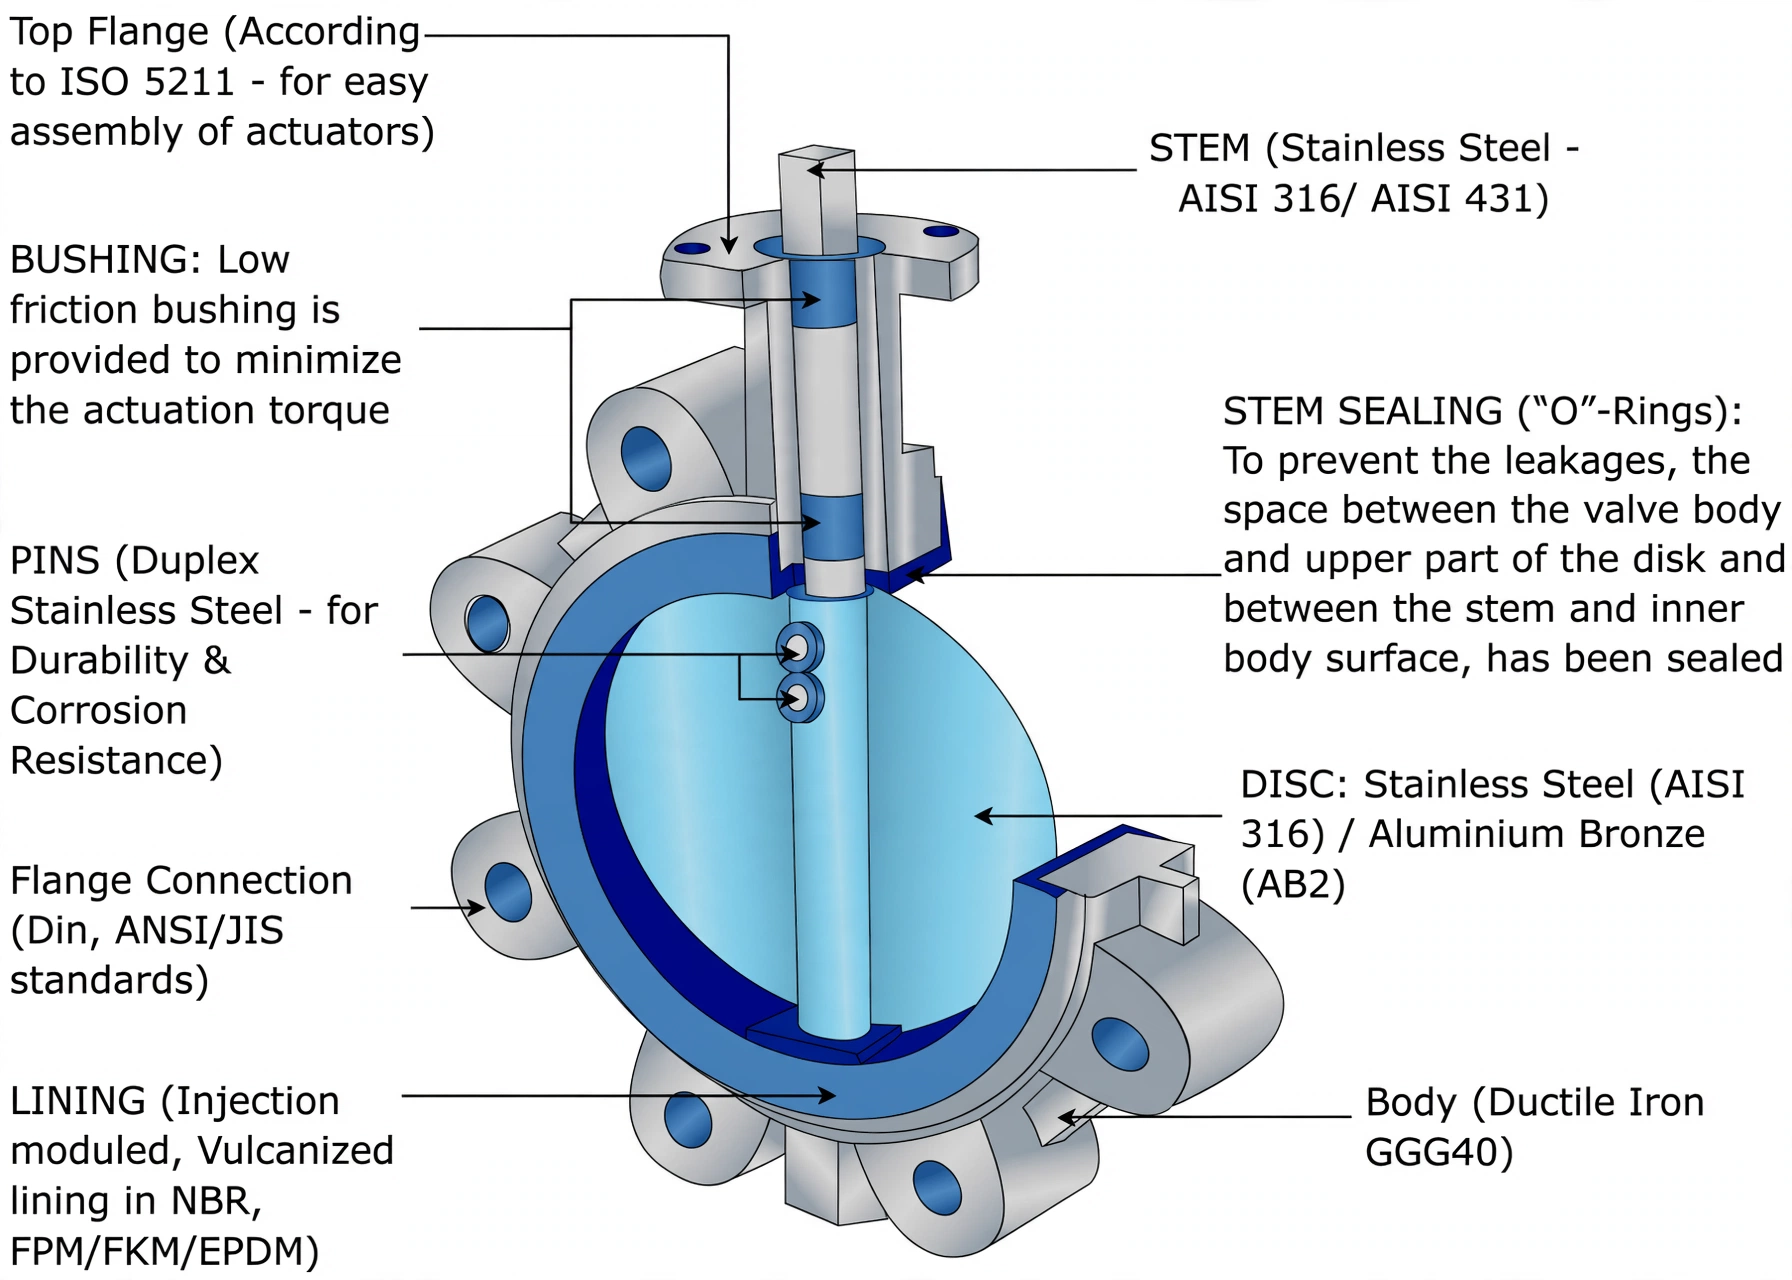
No bonnet, no packing box, minimal parts — every failure concentrates into seat, disc edge and stem seals. Lever or actuator only changes how the quarter-turn is driven.
2. Inspect, Then Rebuild With New Rubber
Idea in one line: four checks decide whether to open it; once open, all rubber is renewed and metal is judged replace-or-reuse.
Out of the line. Close, remove, turn open for access; handle off via cap screw and washer if it blocks the pins.
Drive the pins. Upper and lower roll pins out with a drift or pin punch. Draw both stems — vice plus gentle body taps and a twist for stubborn ones; screwdriver in the lower-stem groove where fitted.
Disc, then seat. Disc out first; seat tapped lightly and evenly round the edge — it fits the bore snugly, so never gouge the body bore getting it out.
Judge metal, renew rubber. Worn or pitted discs and stems are replaced. Seat and O-rings always renewed, lightly but thoroughly silicone-greased inside and out for assembly.
Seawater meets only metals and elastomers that tolerate it along this path — quote the chain when the surveyor asks why each part survives.
3. Sea Chest Filters — Change Over Before You Open
Idea in one line: twin chests exist so cooling never stops — the standby is proved in service before the duty chest is touched.
A choked chest starves condensers and exchangers, collapsing heat transfer and inviting deposit corrosion and erosion downstream. The strainer catches fish, shell, weed and barnacles — the changeover keeps that protection continuous.
Commission standby first. Open its inlet isolations, vent until solid seawater runs, shut the vent, open its outlet — cooling now has two paths, so isolating one cannot starve it.
Isolate duty. Shut its inlet and outlet, open vent and drain.
Open and clean. Ease cover screws (stuck joints are normal), lift with chain block, pull the element, clear all debris.
Close like a flange. New joint, cover down, nuts torqued diagonally and progressively so the cover beds evenly.
Return as standby. Drain shut, vent open, isolations opened to purge air through, vent shut — then re-isolate and hold it ready. Never leave a chest half-commissioned.